


Follow the construction below
Page 1
Page 2
Page 3
Page 4
Page 5
Page 6
Page 7
Page 8
Page 9
History
Return to First Page
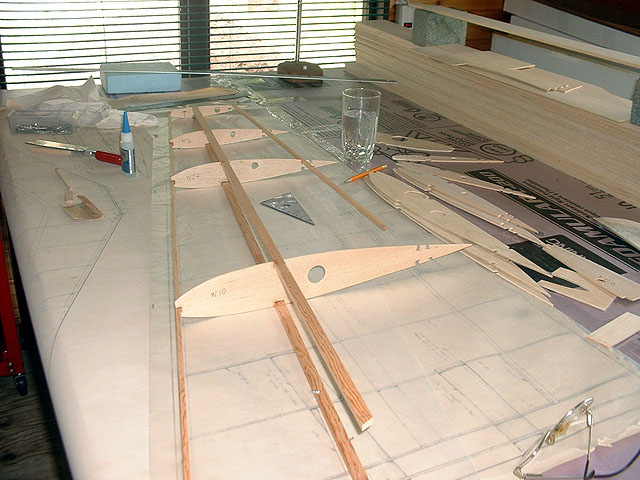
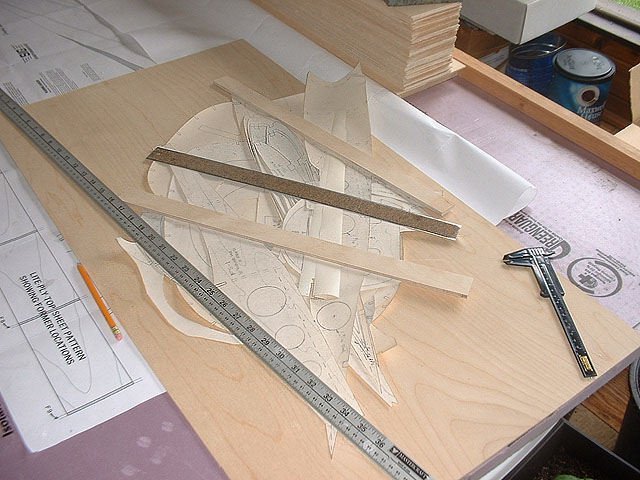 And so it starts. Ready to transfer the cutouts to wood for cutting
 All I need now is a powersaw.
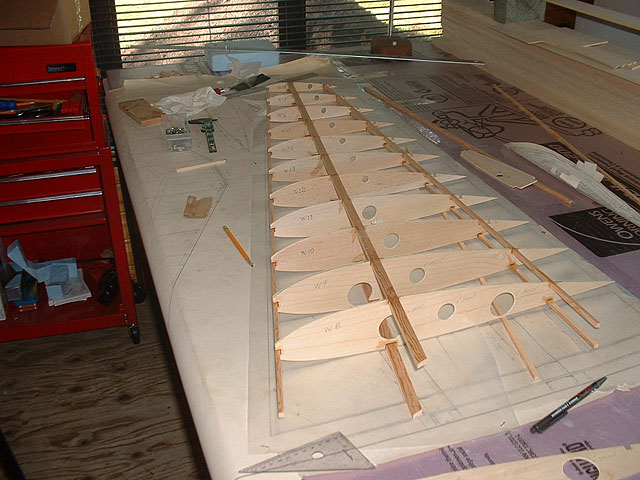
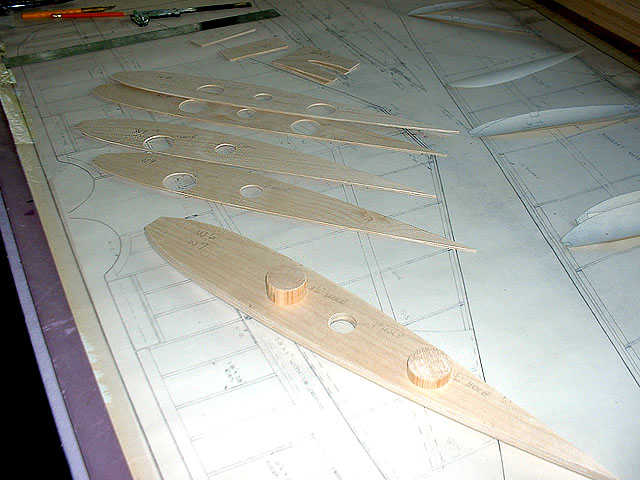 Plywood wing ribs cut and ready.
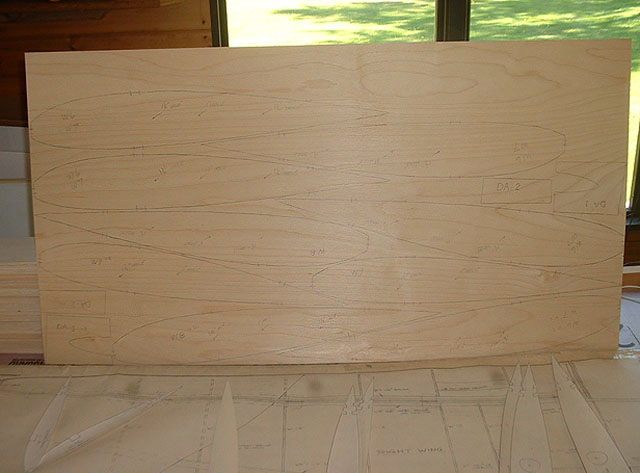
 Balsa wing ribs transfered and ready to cut.
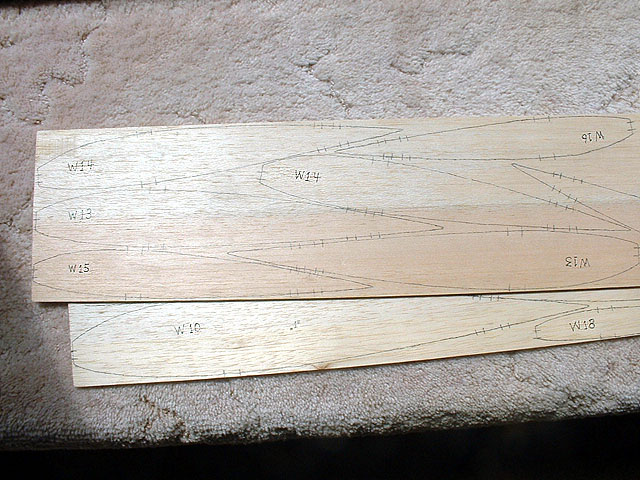
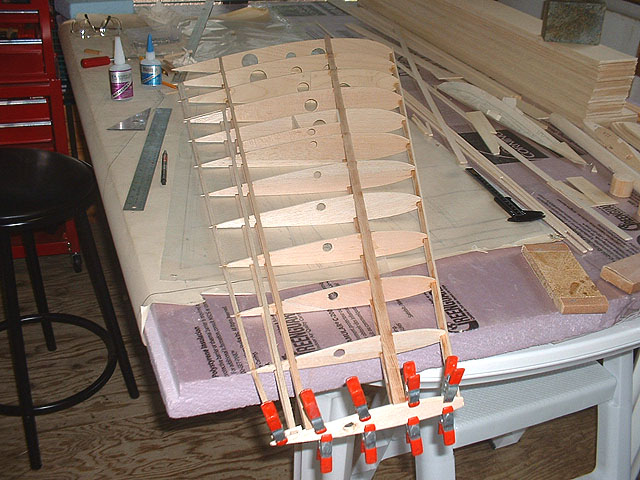
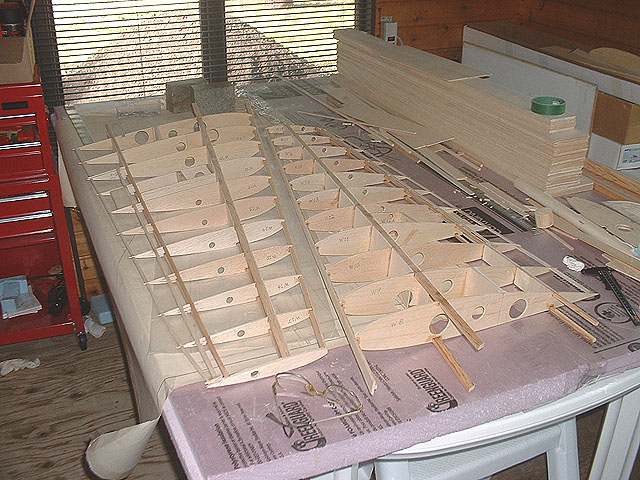
 All wing ribs cut and drilled.
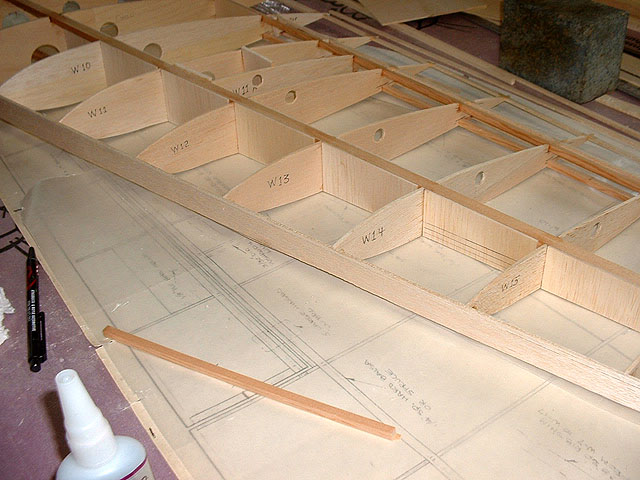
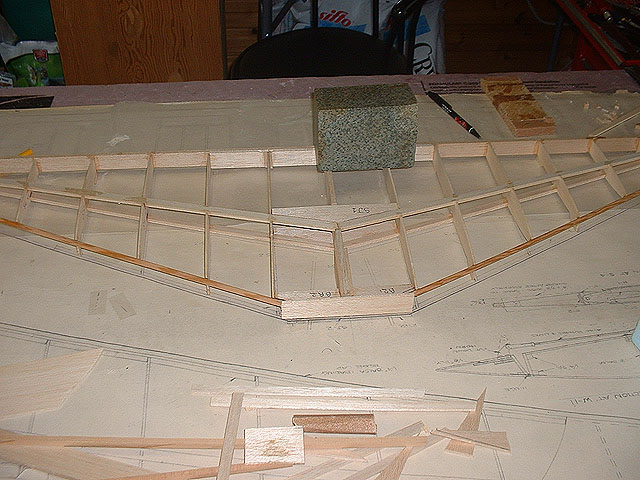
 All slots cut. Spars cut. Dry fitting the first wing.
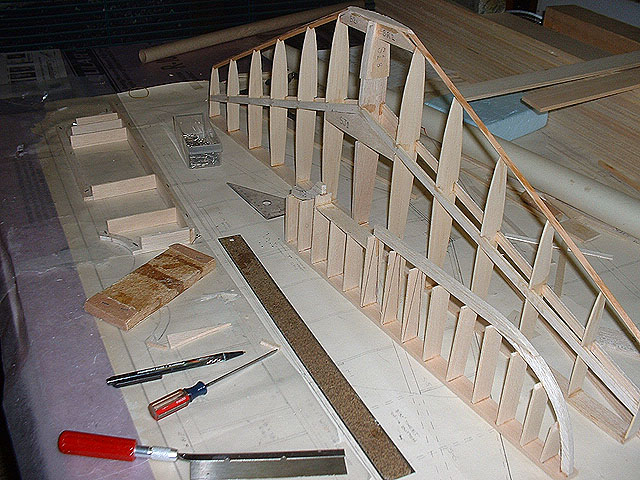
 Right wing almost done.
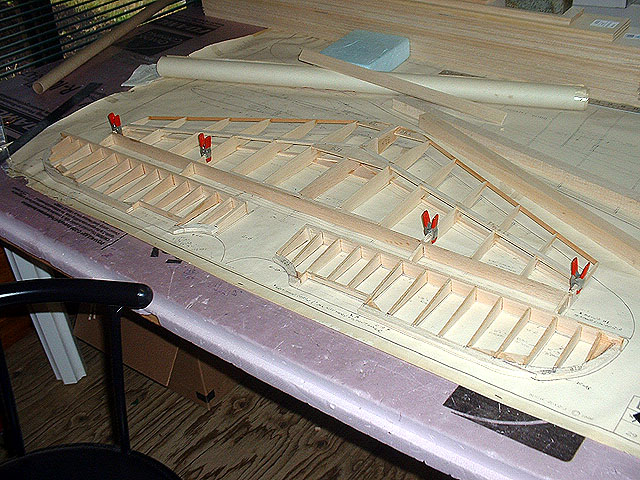
 Gone about as far as I can with the right wing. Now for the left wing.
 Top of left wing done. Just have to flip it over.
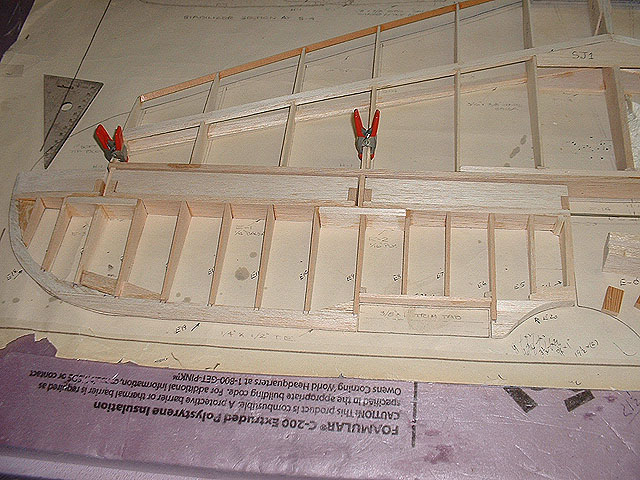
 We have added webs between the ribs to increase wing strenght.
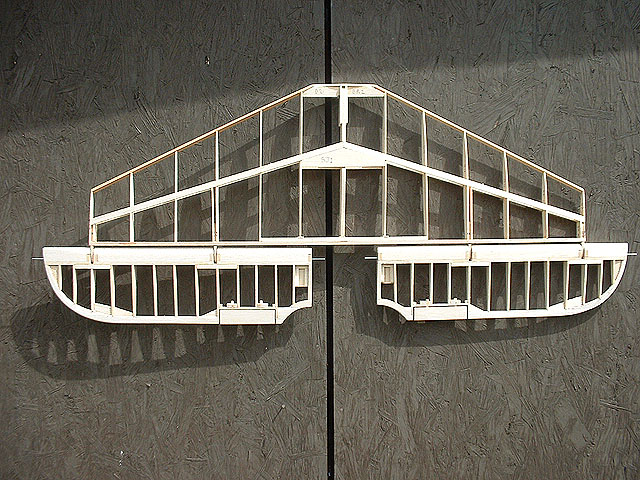
 Both wings done as far as possible for now. Now on to the stabilizers.
 Stabilizer under construction.
 Leading edge of the stab finished.
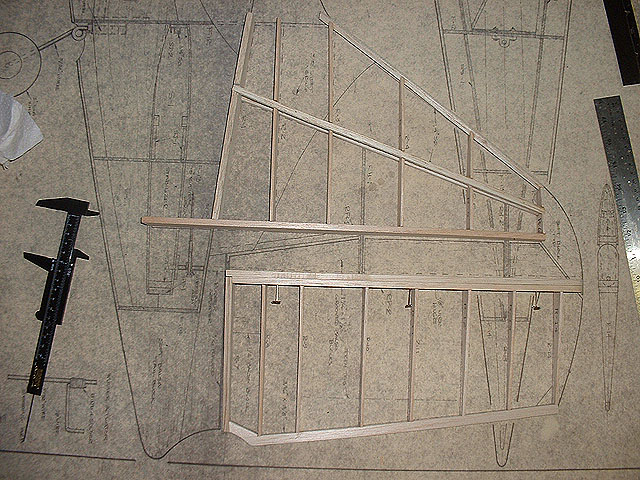
 Horizontal stabilizer pretty much done. Now working on the elevators. They are proving to be a real head scratcher.
 Elevators fleshed out. Ready to attach them to the horizontal stabilizer.
 Elevator hinges actually work! I changed the hinges to hardwood and added hardwood thrust blocks to support the 1/16 wire.
 Added hardwood blocks for the elvator horns. Installed the trim tabs (not functional).
 Horizontal stabilizer and elevators done. Just need a bit of balsa to round off wing tips before sheeting.
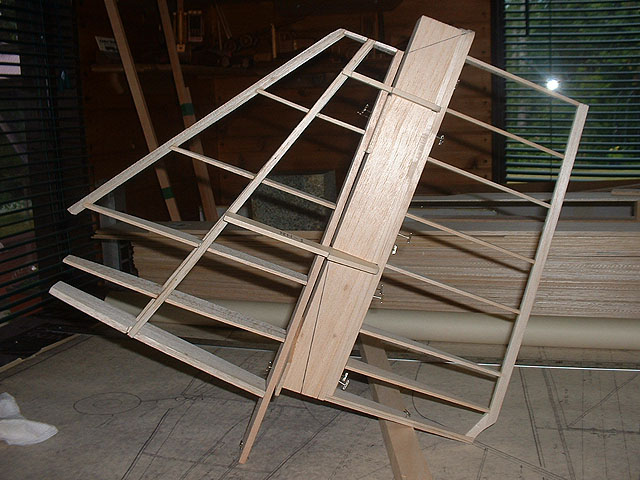
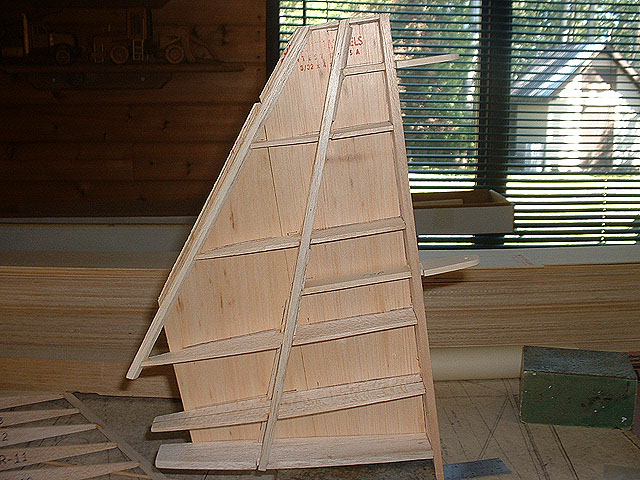
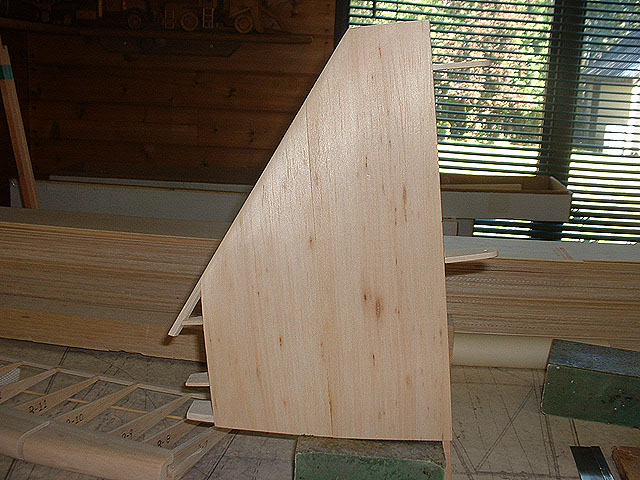
 Moving to the vertical stabilizer and rudder. Lots of strange curves and angles. Started on the rudder as it appears the easiest. Boy, did I misjudge that one!!.
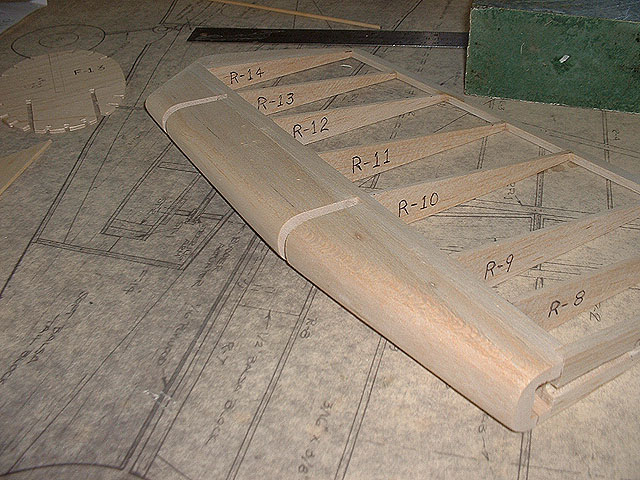
 Vertical vertical stabilizer and rudder almost done. Just need a length of 1/8 wire for the hinges and rudder actuator mechanism.
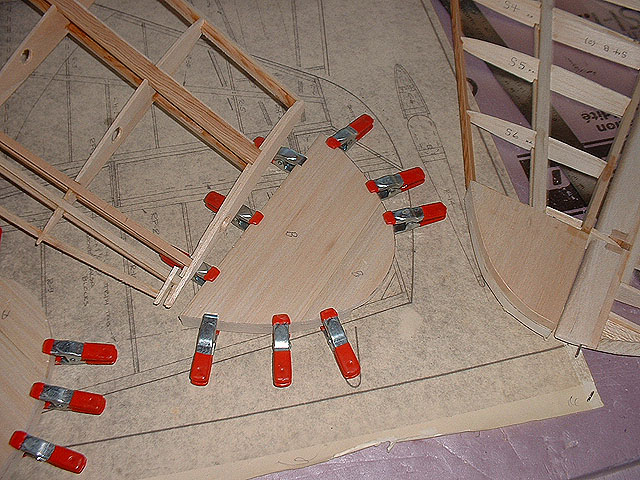 Laminating slabs of balsa for the wing tips and ends of the stabilizer, fin and rudder.
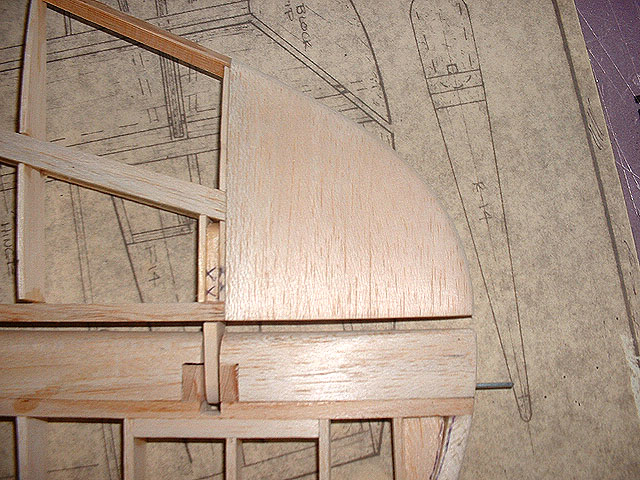 The tips look much better when shaped and sanded.
 Front of the rudder after shaping and sanding.
 Front of the rudder after shaping and sanding.
Page 1
Page 2
Page 3
Page 4
Page 5
Page 6
Page 7
Page 8
Page 9
History
Return to First Page